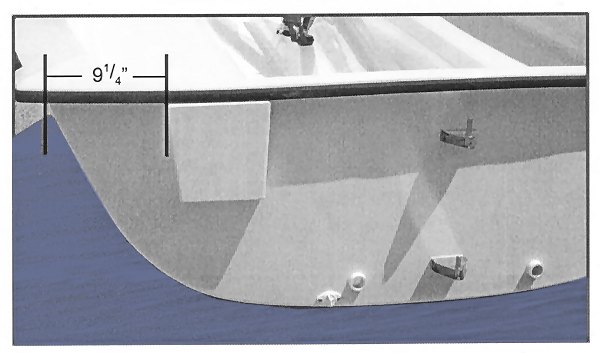
Begin by locating and marking
the motor mount board location on the port side of the
transom. See illustration above.
Determine the engine clamp locations on the inside
of the transom and mark these to be certain the fastenings
don't fall in the same place.
Locate the fastenings on the transom about 3/4"
in from the sides of the board. The top two screws should
be about 3/4" down from the top of the board and
the bottom two screws should be about 4 1/2" from
the top of the transom.
Using a 1/8" bit, drill the four screw holes through
one layer of fiberglass only, i.e.; the hull but not
the inside cockpit liner. There is a gap between the
two fiberglass |
layers that must be filled to prevent
crushing when the engine mount is clamped on. Cut a
small hole in the end of the caulking tub and shoot
enough caulking into the hole to fill the space in the
immediate area of the board.
Hold the board in place and drill pilot holes from
the inside of the boat into the board. Be careful not
to drill all the way through.
Cover the back of the board with 5200 marine adhesive
or caulking, place the screws through the trim washers
and tighten snugly.
Allow time for the caulking to cure and you're ready
to put a pad over the transom, clamp on the motor and
power away. |